| Part I: The precipitation Reaction |
|
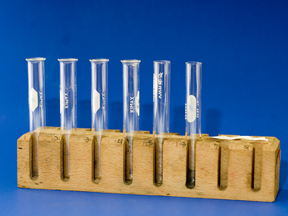 |
Get out six small, test tubes (clean and dry) as well as clamps or tongs. Use the magic marker provided to label the test tubes 1, 1a, 1b, 2, 2a, and 2b. The test tubes marked 1 and 2 should be Pyrex since they will be heated later in the experiment. Wipe off any fingerprints or other smudges from tubes 1 and 2, and then weigh them carefully to the nearest 0.0001g. Do not touch them with your fingers from now on. Test tubes 1a, 1b, 2a and 2b will not be weighed and can be touched as needed. |
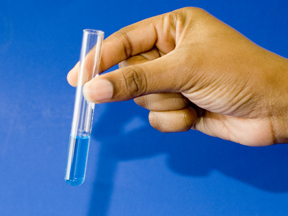 |
Each student in the lab section will be assigned certain volumes of the 0.50M Cu(NO3)2 and 0.50M KI. Add the assigned volume of Cu(NO3)2 to the assigned volume of KI into tubes 1 and 2. Tubes 1 and 2 will have identical mixtures so that if any error is made there is a duplicate. Be sure to record any observations of the reaction in your lab notebook. |
 |
Put the tubes in the test tube rack for five minutes to allow the reaction to go to completion. Remember not to touch test tubes 1 and 2 with your hands. Use a clamp, tongs or a piece of paper towel. |
|
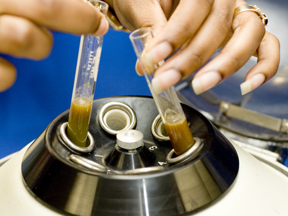
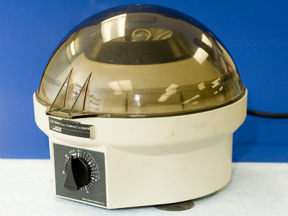
Centrifuge the test tubes to collect the solid. (Check with the TA before turning on the centrifuge so he or she can demonstrate its use.) Place the two test tubes directly opposite each other. Make sure they are seated properly in the holders by gently tapping them down with the clamp. Check with other students on the lab bench to see if anyone else is ready to use the centrifuge. Each centrifuge can accommodate four test tubes, and the experiment will go much faster if several people use the centrifuge at the same time. Close the lid of the centrifuge and turn it on. Be aware of any unusually loud noise or “walking” of the centrifuge, which might indicate that the tubes are off balance, and turn it off immediately. Once it comes up to speed, let the test tubes spin for 5 minutes. When turning off the centrifuge, wait until the rotor has completely stopped. |
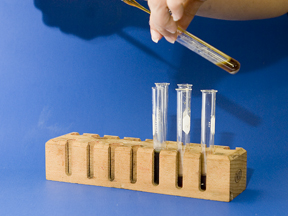 |
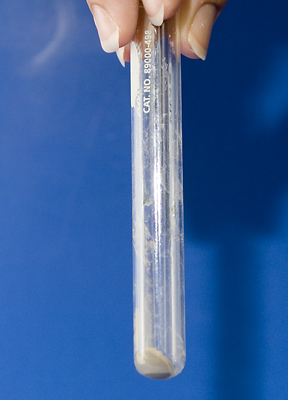
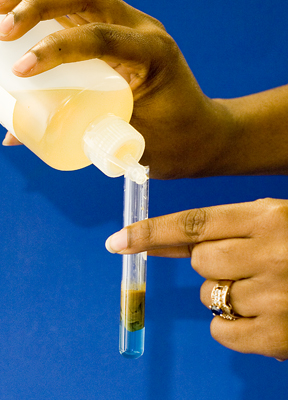
Remove the test tubes, careful not to touch them with your fingers. The test tubes should contain a clear brown-green colored liquid (supernatant) and a grey solid at the bottom (precipitate). Put the test tubes in the test tube rack. |
 |
Obtain two disposable pipettes from the front of the room. The next step is to draw off the supernatant, leaving the precipitate behind in the test tube. Attach a small bulb to the disposable pipette. Squeeze the air out of the pipette with the bulb before you put it into the liquid, and then carefully draw up the supernatant. It is not essential that every last drop of supernatant is removed from the test tube, but it is important that the precipitate be undisturbed. |
|
Split the supernatant from test tube 1 between the test tubes labeled 1a and 1b. Discard the pipette in the sharps disposal box at the front of the room. Use the second pipette for test tube 2 and follow the same procedure.
Test tubes 1a, 1b, 2a and 2b contain an excess of either Cu(NO3)2 or KI. The supernatants will be tested later so don’t throw them away. Test tubes 1 and 2 contain the precipitates. This precipitate is wet and must be dried before it can be weighed. Any unreacted reagents that may be trapped must also be removed. |
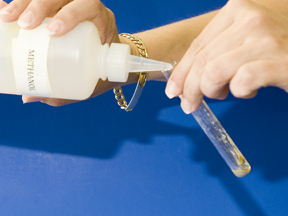 |
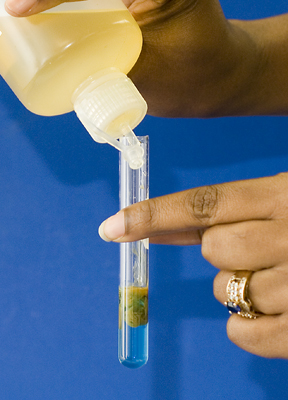
Wash the precipitate by adding approximately 3 mL methanol to each test tube. It is important that the same amount be added to both test tubes. Gently shake the tubes so that the precipitate starts to cloud the solution. Remember not to touch the tubes with your fingers. Also, be careful not to spill any methanol on the sides of the test tubes because it will dissolve the magic marker. |
 |
Put the test tubes back in the centrifuge and spin for 5 minutes. The solution should be clear once again.
Remove the supernatant with a disposable pipette. Again, do not disturb the precipitate. Since this supernatant will not be tested, use the same pipette for both test tubes. Discard these supernatants in the waste jar in the hood. |
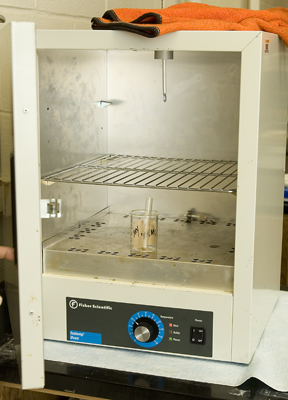 |
Now the precipitate must be dried. Write your name on a label or a piece of paper and place it on the inside of a 100 mL beaker. Place test tubes 1 and 2 in the beaker and put them into the oven for at least 20 minutes. If there is more time left in the period, leave them in longer, keeping in mind that the test tubes must be cooled before weighing.
The reason methanol is used to wash the precipitate rather than water is that methanol is much more volatile. This means that it evaporates very quickly. Squirt a small amount of methanol onto the lab bench. Notice how it rapidly evaporates. This will make the precipitates dry much faster. Methanol is also flammable, so no flames in the lab today! |
| Part II: Testing the Supernatents |
|
 |
While the test tubes are in the oven, test the supernatants. Add 1 mL of the Cu(NO3)2 solution to test tubes 1a and 2a. Record any observations. Now add 1 mL of the KI solution to test tubes 1b and 2b and record observations. |
| Part III: Weighing the Precipitates |
|
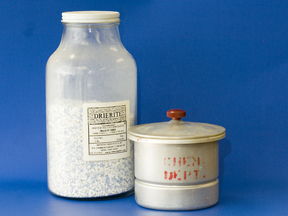 |
After the test tubes have been in the oven at least 20 minutes, remove them and place the test tubes in a desiccator to cool for at least 10 minutes. Remember not to touch the test tubes with your fingers (the beaker will be hot anyway). |
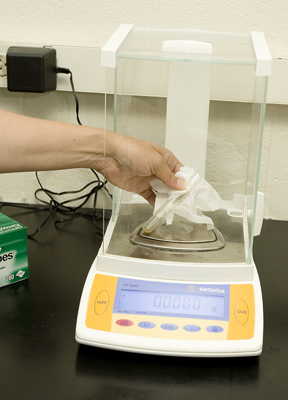 |
Weigh each test tube to the nearest 0.0001g. |
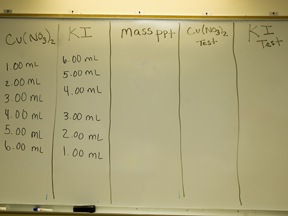 |
Calculate the mass of the precipitate for each test tube. Give the TA the results to post on the board to make them available for the whole class. The results of the entire class will be available on the board, make sure you have a copy before leaving. It is your responsibility to get these results. |
| |
|
| |
|

