SAFETY NOTES: The hydrochloric acid (HCl) used in this lab is very concentrated and can cause severe burns. If the acid comes in contact with your skin, rinse the area immediately with lots of water.
GENERAL INSTRUCTIONS: Each Student will work as an individual in this lab.
| Part I: Making the Copper Sulfate Solution | |
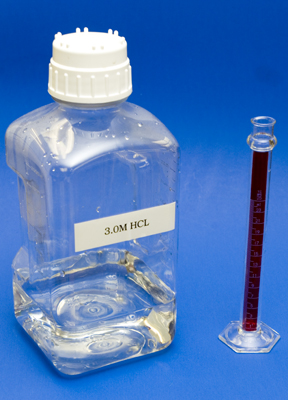 |
You will need to create 25 mL of a 0.25M solution of CuSO4 in 3M HCl. Using your 100 mL graduated cylinder collect ~ 25 mL of 3.0M HCl from the front counter and place it in a beaker. Be Careful! |
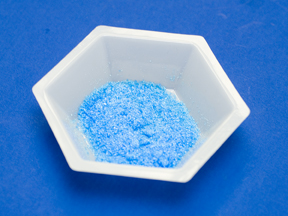 |
Using the weighboats provided, weigh out the correct amount of CuSO4 you calculated in your pre-laboratory assignment. Be sure to use proper weighing technique. |
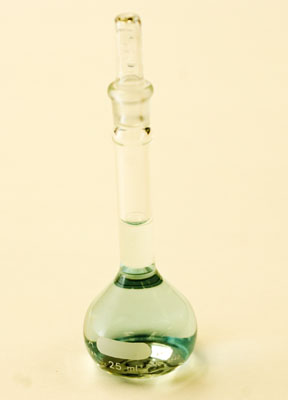 |
Fill the volumetric flask about 1/3 full with 3.0 M HCl. Add a small amount of HCl to the weighboat containing your CuSO4. Slowly pour the HCl/CuSO4 slurry into the volumetric flask. Add HCl to the CuSO4 in the volumetric flask until the volume is 25 mL exactly as indicated by the white line on the flask. Allow the solution to return to room temperature. Check to see that the volume is still correct. Add a little more HCl if necessary. |
| Part II: Precipitating Cu2+ Ions as Copper Metal |
|
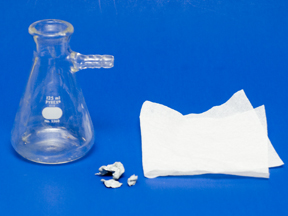 |
Collect and weigh all of the following items and record the masses in your notebook to the nearest 0.0001 g.
|
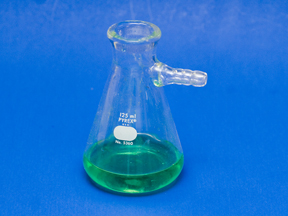 |
Place 25 mL of the copper sulfate solution in the sidearm flask and re-weigh. Record the mass in your lab notebook to the nearest 0.0001g. |
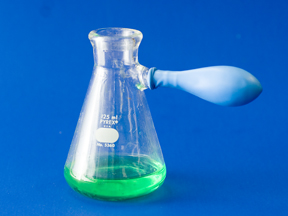 |
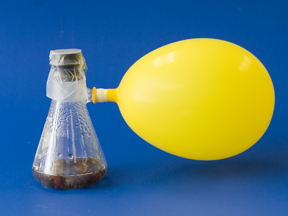
Collect a balloon from the front counter and fit it onto the sidearm of the pre-weighed flask. Using a rubber band or parafilm, make sure the seal of the balloon to the sidearm is airtight. |
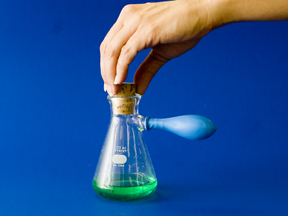 |
Collect a stopper from the front counter. You can add parafilm to the flask before adding the stopper to guarantee a good seal. |
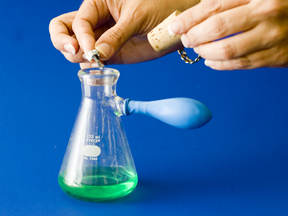 |
You are now ready to start the reaction. Quickly place the pre-weighed zinc metal pieces into the solution and cap with the stopper. You should see bubbles form right away. This is the hydrogen gas being produced. |
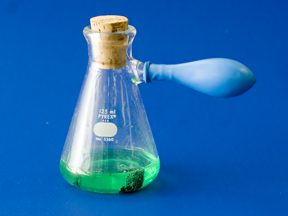 |
Make observations about how the solution’s appearance changes as the reaction proceeds, noting if there are any color changes. Make sure the balloon stays on the sidearm of the flask as increased gas pressure might push it off. |
|
|
When the reaction is complete (no more bubbles and the solution should be clear) you will need to carefully measure the balloon.
We will calculate the mass of hydrogen gas by using the following equation (this is part of what is called the ideal gas law). Assuming the temperature of the gas is approximately room temperature, 298 K (or 25 oC) and that the atmospheric pressure is 1.000 atmospheres, you can calculate the mass of hydrogen gas by inserting the volume of hydrogen gas in L into the following equation: Mass of H2 gas (in g) evolved = 8.244 X 10⁻² x (volume in L) [Reminder: 1 cm3 = 1 mL = 0.001 L] |
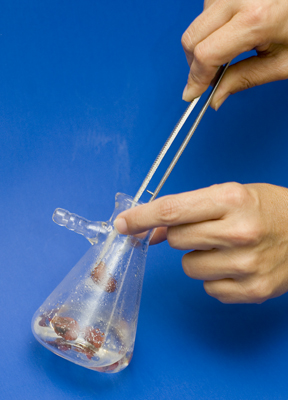 |
We now need to measure both the metals and solution that remain in the flask. First you will need to remove all of the metal pieces from the solution. Do this by using the tongs/tweezers in your drawer. Carefully pull each metal piece out, allow any excess liquid to fall back into the solution in the flask. Place the metal pieces on a paper towel to dry. |
 |
Weigh the solution that remains in the flask and record the weight in your notebook to the nearest 0.0001g. |
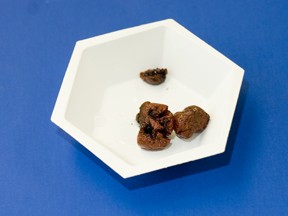 |
Once dry, place the metal pieces on the previously weighed Kimwipe and weigh them. Record the weight (minus the Kimwipe) in your notebook to the nearest 0.0001g. |

